
Shop
Shop Page is the archive page for products to display all WooCommerce products. This page is one of the WooCommerce Pages and is created on activation of WooCommerce Plugin.
Creating Shop Page
Shop is automatically created when WooCommerce plugin is activated. If for any reason, the shop page is missing you can create it by one of the 2 ways :
Automatically
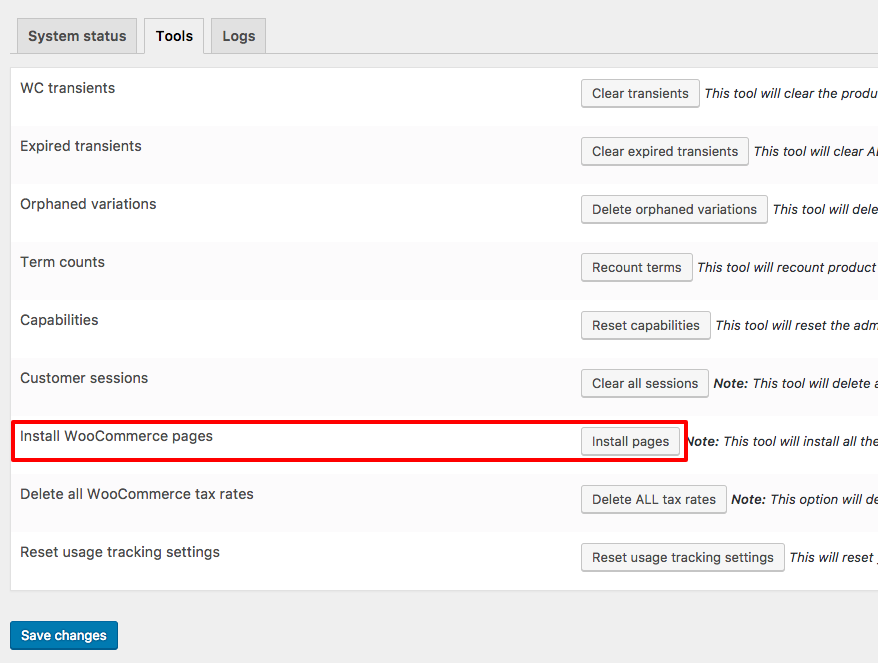
Please navigate to WooCommerce > Status > Tools > Install WooCommerce Pages. On click on the button, it automatically creates all missing shop pages and is assigned as a shop page.
Manually
Create a page from Pages > Add New and Publish.
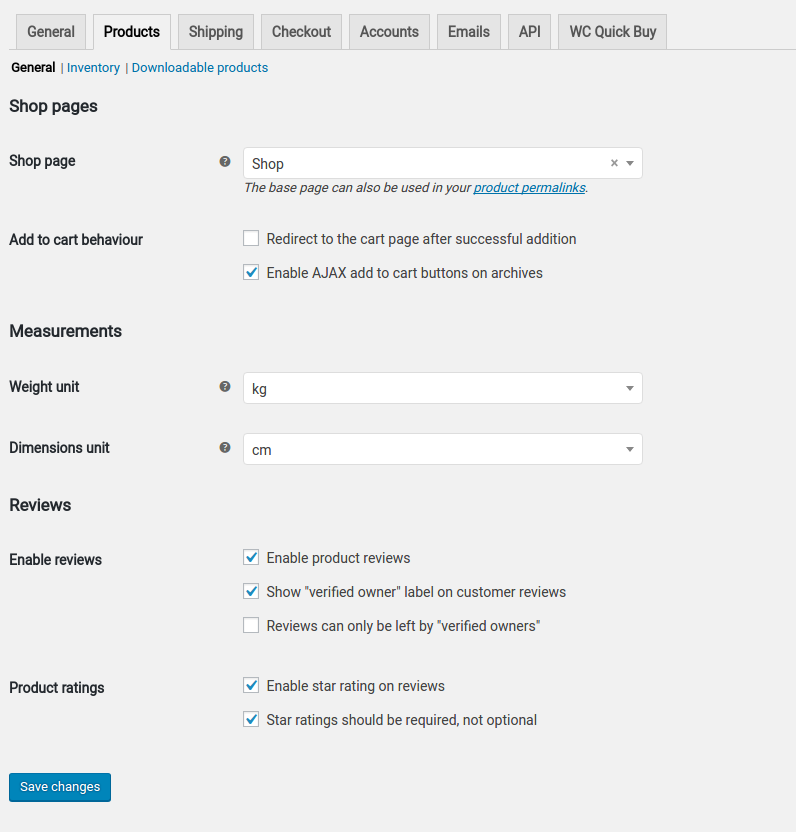
After hitting the Publish button, please navigate to WooCommerce > Settings > Products > General
Assign the page newly created as a Shop Page.
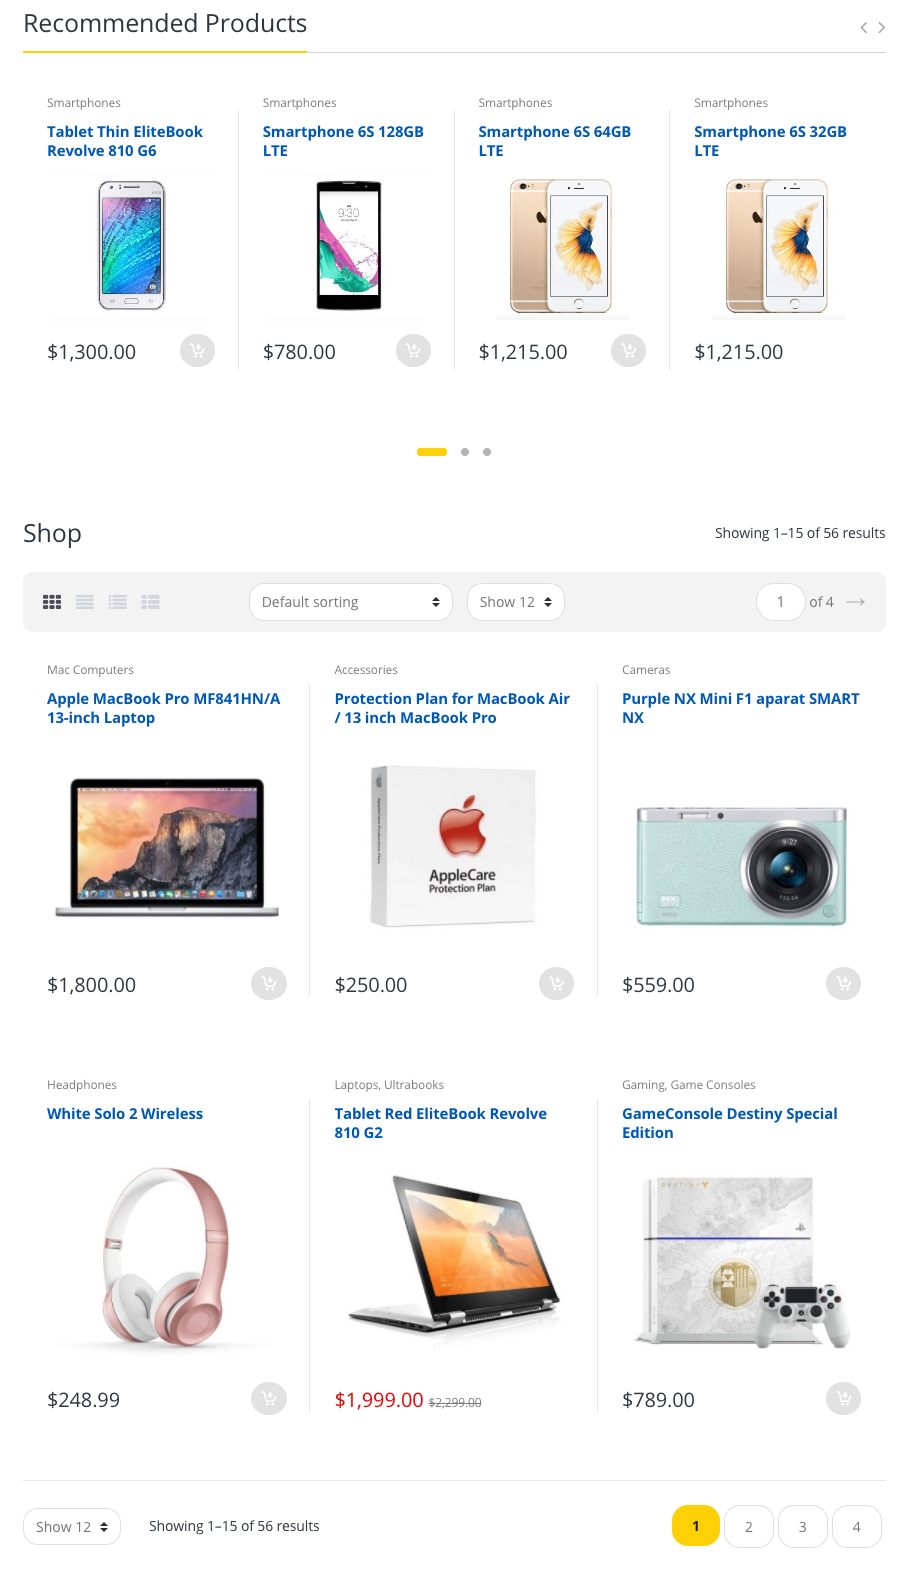
Show Products View
Set Up Products
Adding Products
Now for the fun stuff, adding your products! But before diving into your first product you should familiarise yourself with how product categories, tags and attributes work. Read in detail about managing products.
Additional Product Information
In addition to the product information that can be added to a product, Electro allows you to add an important information to your product which is ‘Product Attributes’. Read more details about product attributes in Product Attributes
Inventory
 Total Stock Quantity & Stock Quantity are used for “Already Sold” and “Available” calculation in the progress bar
Product Attributes
Product Attributes are pieces of data that can add more technical information to your product and help you to refine your catalog while browsing/searching. It works in exactly the same way as product Categories. For example, you can add extra product data like ‘*Color*’,’*Size*’ or ‘*Brand*’ to your products.
Adding New Attributes to your product
Setting up attributes themselves uses an interface you will be familiar with. It’s recommended that you set up any Attribute you will be using over and over in this way. Navigate to Products > Attributes and you will be presented with the following screen:
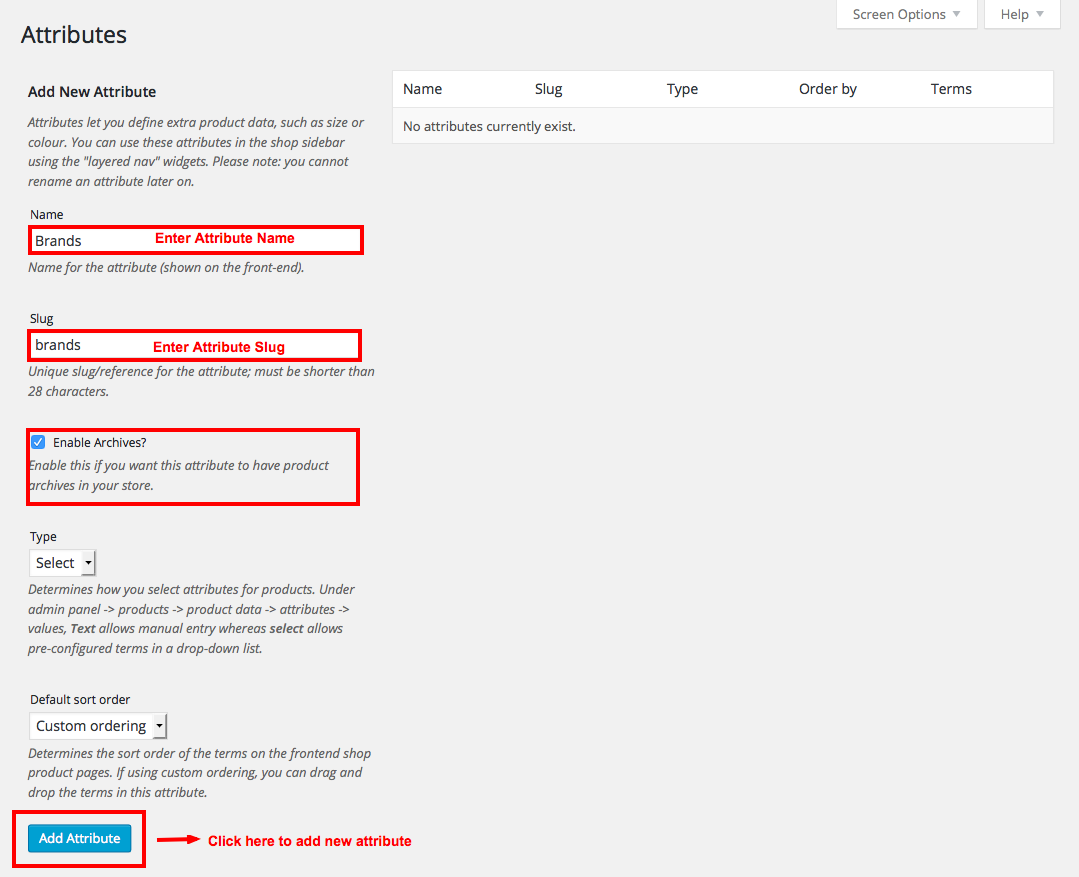
Here you can quickly and easily add attributes. After adding, the attribute may display without Attribute Name. Then edit the attribute to enter the Attribute Name and click save to update.
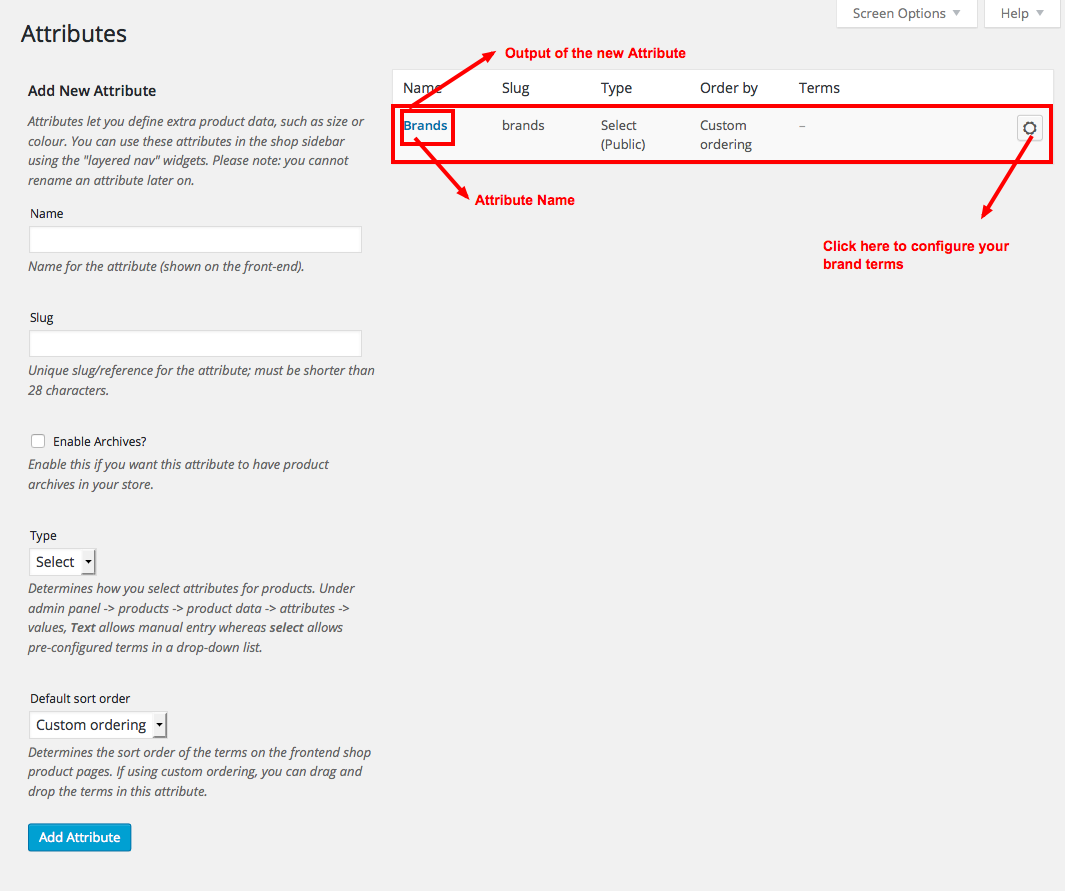
Here it is an example of adding Brand Attribute, likewise you can add Color and Size Attributes.
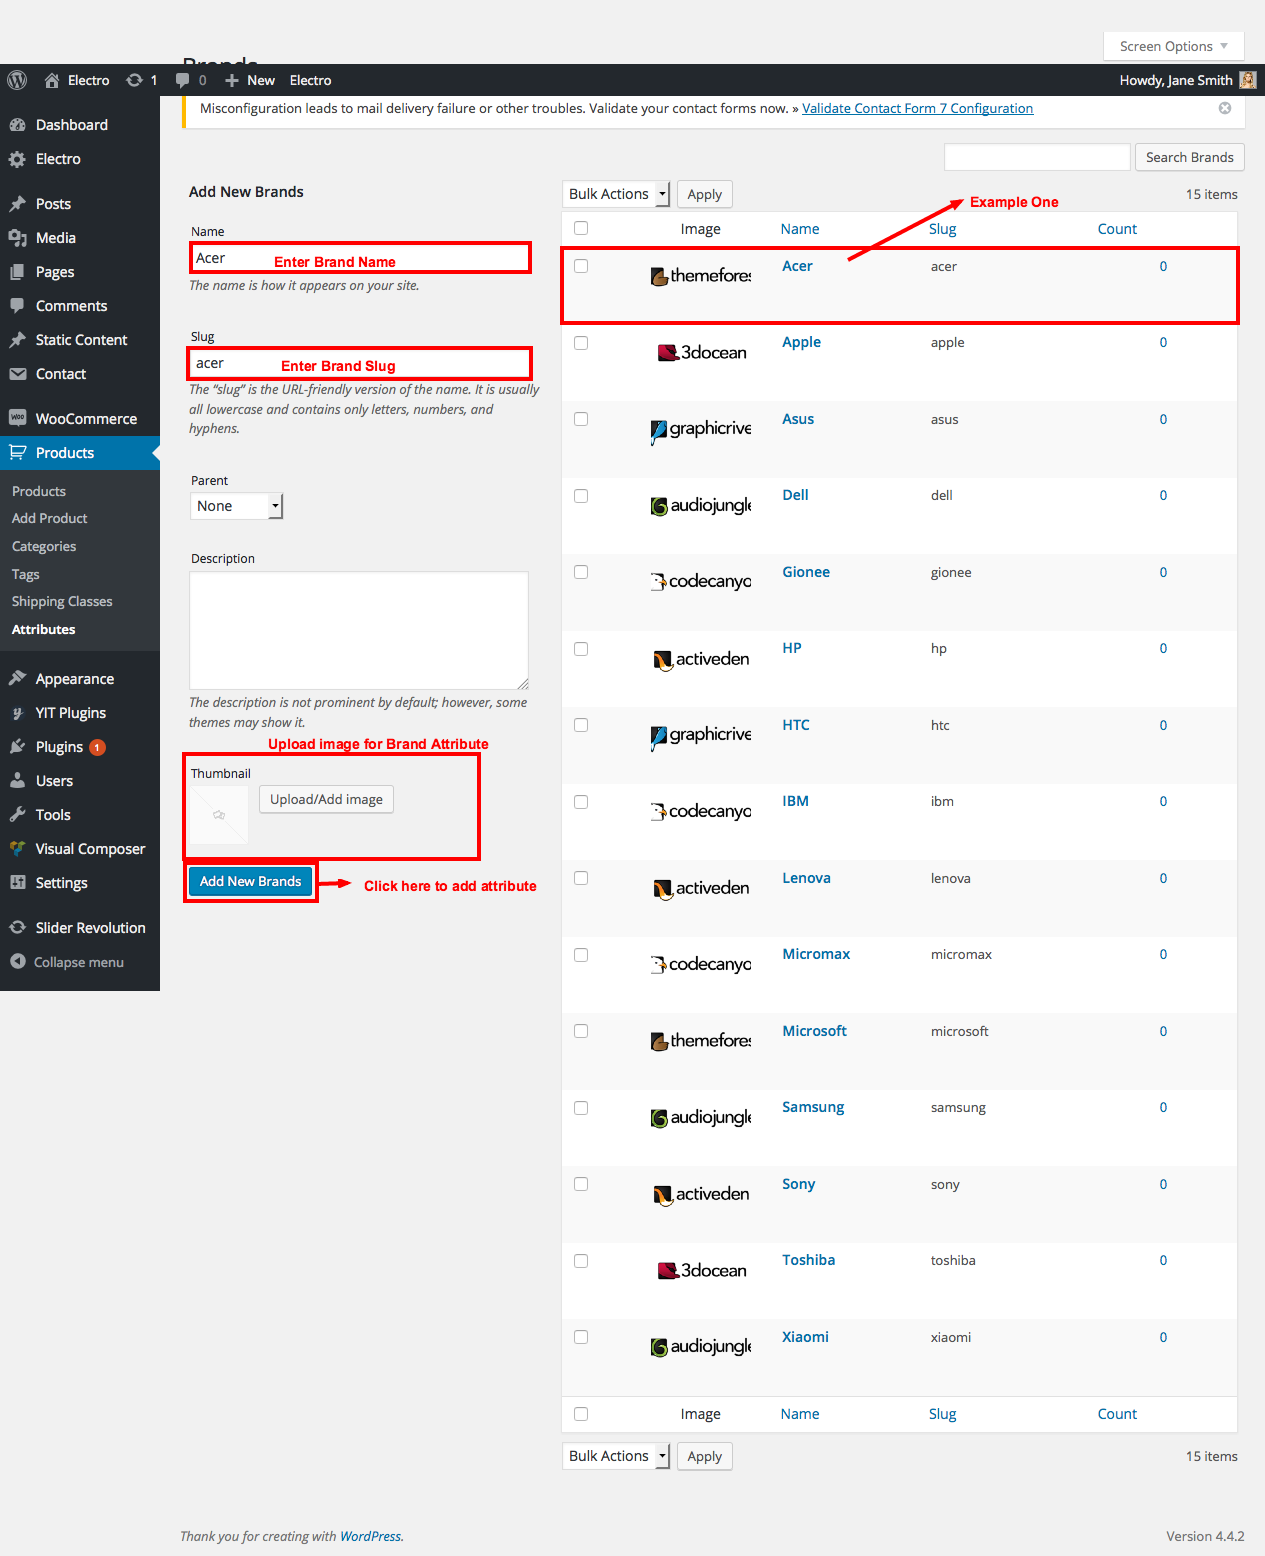
Configuring Brand Attributes to your product
Here you can use attribute for Brands with terms like : Acer, Apple,Asus, Dell, Gionee, Hp, Htc, Ibm, Lenova etc.,
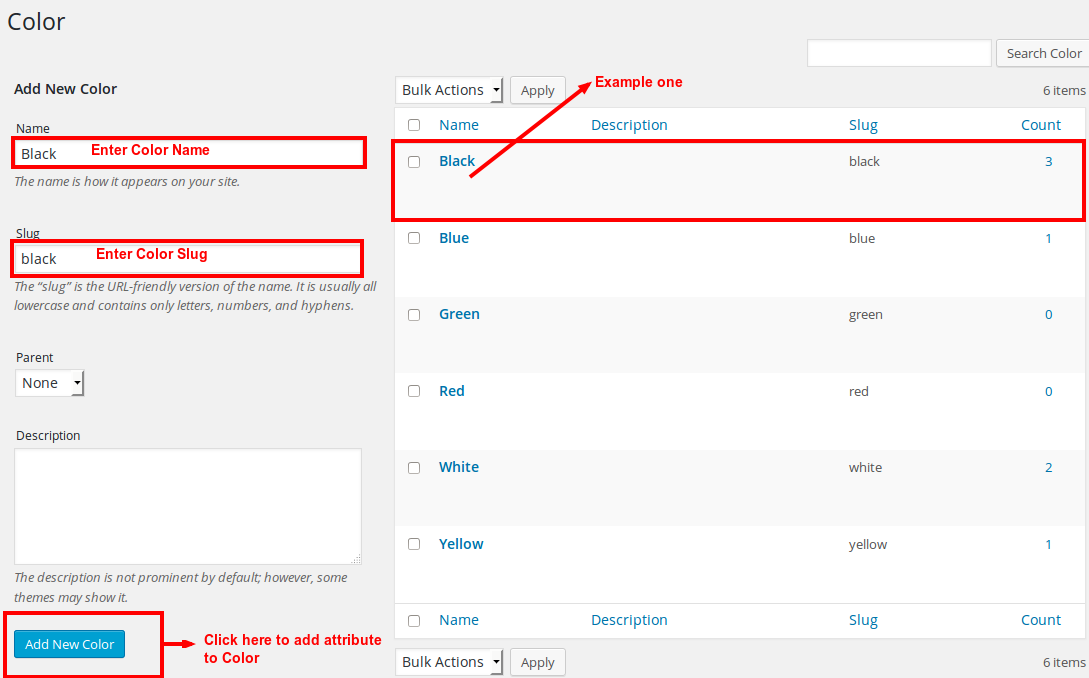
Configuring Color Attributes to your product
Here you can use attribute for Colors with terms like : Black, Blue, Green, Red, Yellow etc.,
Single Product Page
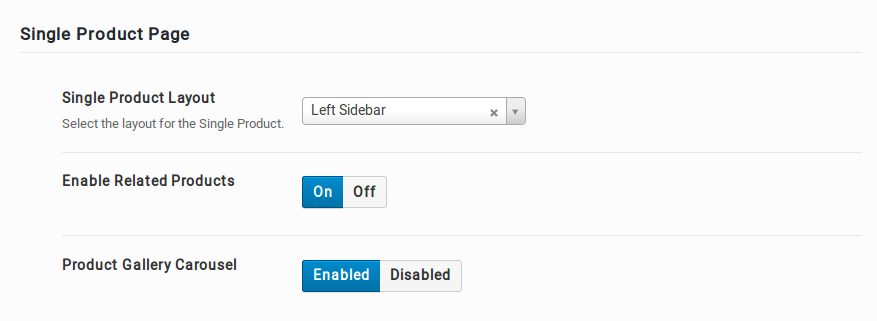
Single Product Layout
In Electro theme, the Single Product Page can be displayed in 3 available layouts which are : 1. Left Sidebar – This is the default layout of Single Product page in our theme. It has a content section occupying 75% of the screen and a widgetized sidebar section to its left occupying 25% of the screen. 2. Right Sidebar – This layout is same as the Left Sidebar layout except that the sidebar section is in the right side of the screen. 3. Full-width – This layout does not contain any sidebars. The entire screen has the content section.
Enable Related Products
Enable or disable related products in Single Product page. Click here to know details of setting related products.
Product Gallery Carousel
Enable or disable product gallery carousel.
Single Product Styles
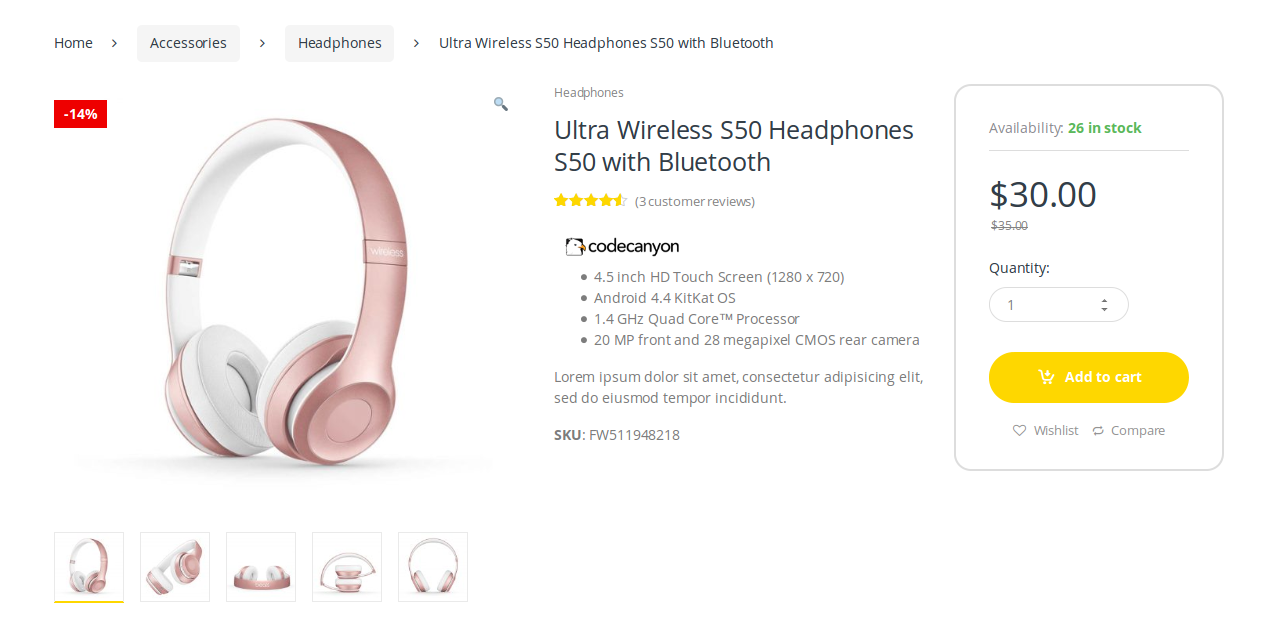
Output of Normal Style
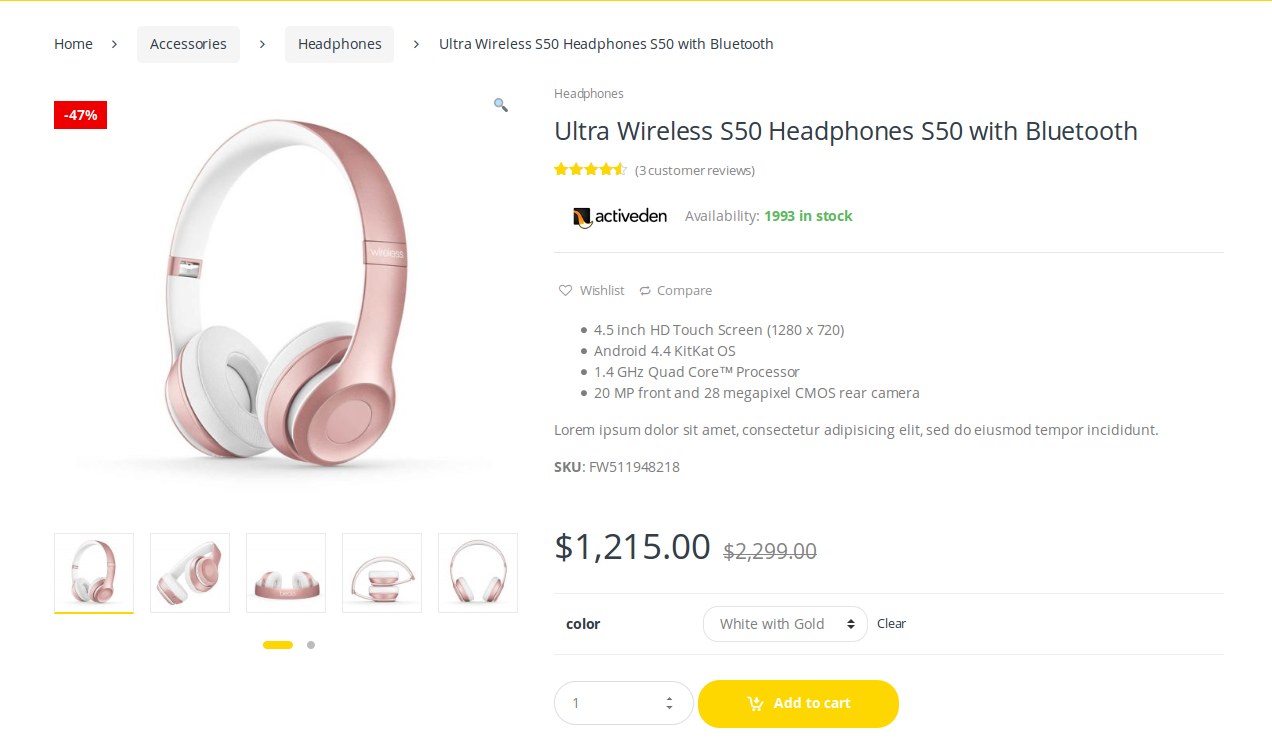
Output of Extended Style
Settings

Single Product page has two different styles of view, one is Normal and another is Extended view. You can achieve the style by choosing Product Style option in Edit Product or Add Product page.
Add Custom Tabs in Single Product Page
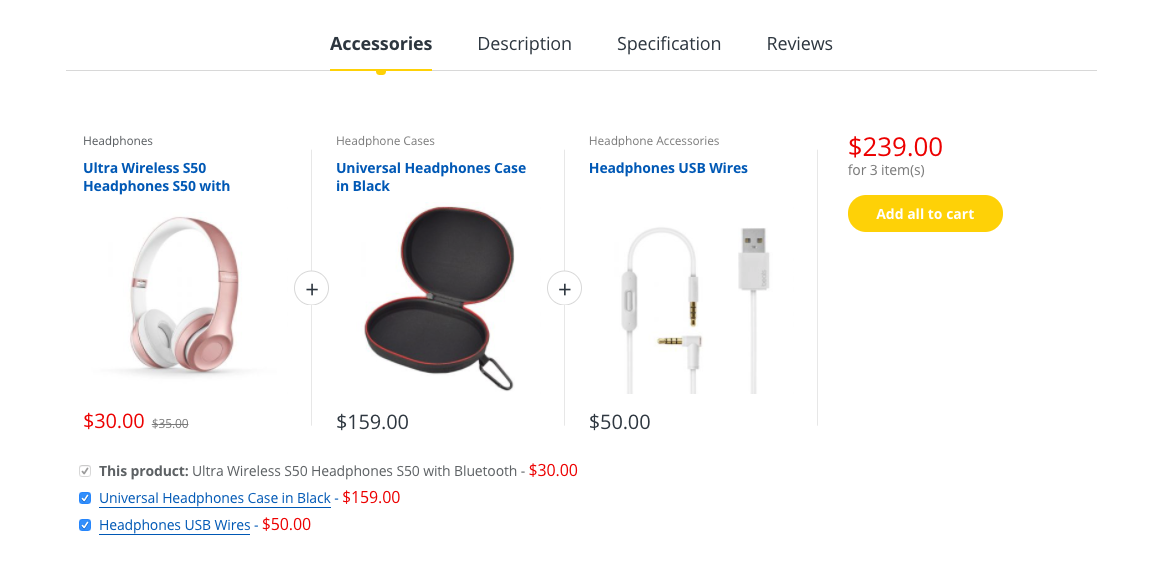
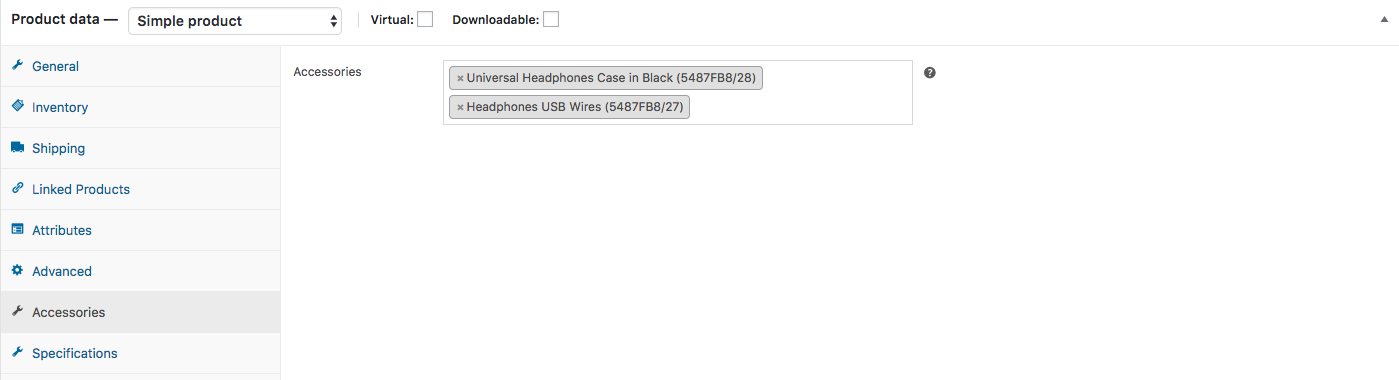
Apart from default WooCoommerce Tabs, we add an extra tabs like Accessories and Specifications which create for the benefit of the user to show more information about their products.
Accessories Tab
You can only add simple products to accessories tab. Variation products does not supports with accessories.
Output
Settings
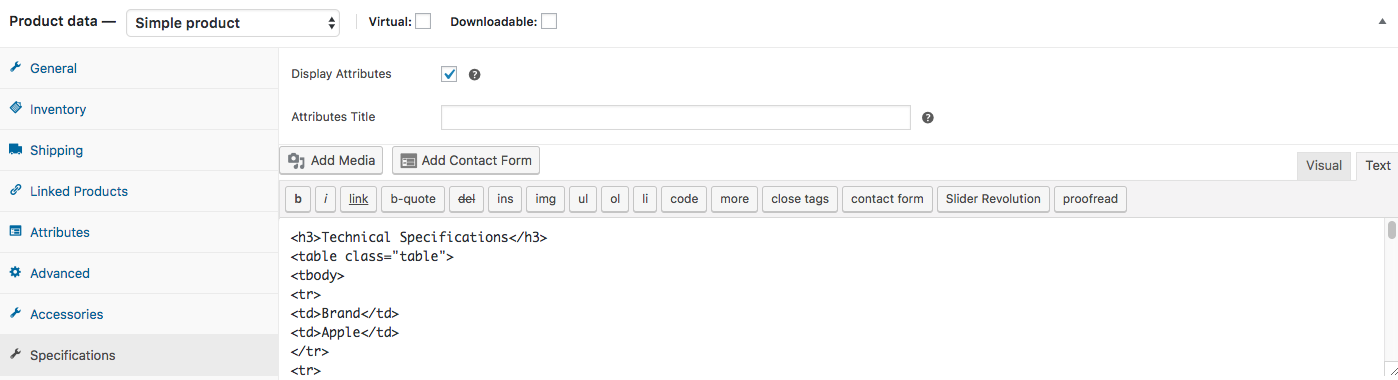
Specification Tab
Like Additional Information Tab, it will also display weight, dimensions or attributes. Output
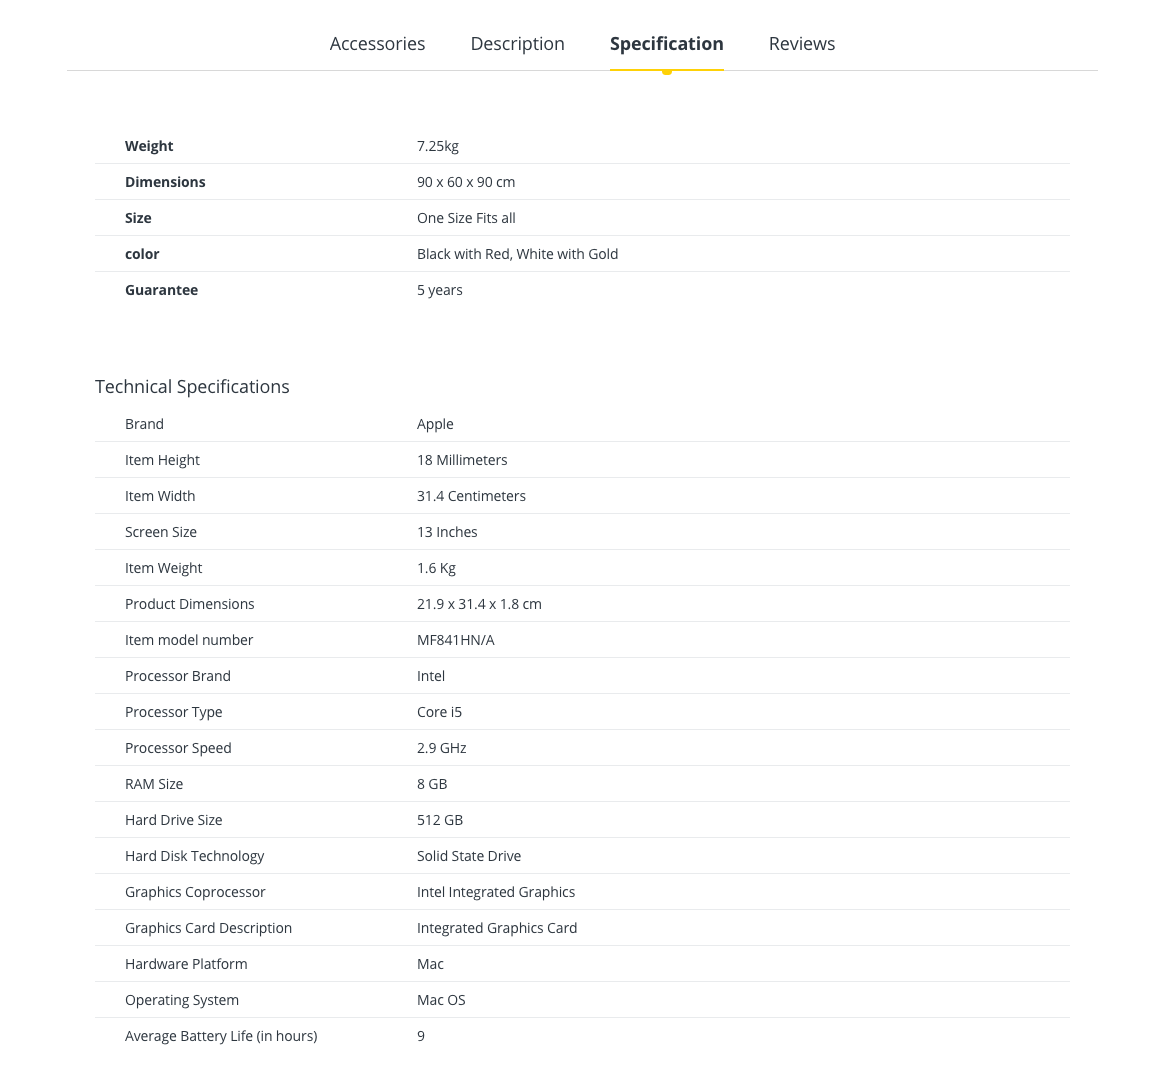
Settings
Cart
Cart page is created automatically on activating the Woocommerce plugin. If the page is not created, then
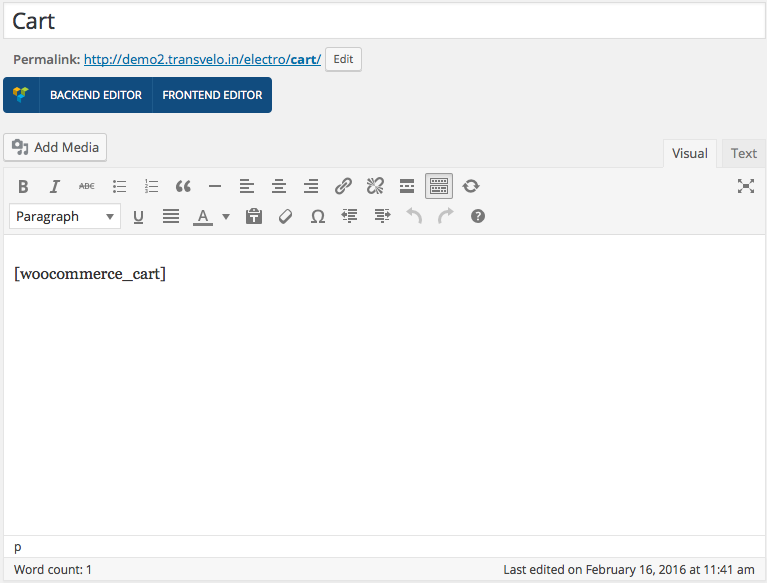
Navigate to Pages > Add New .
Give it a name, say Cart and enter the shortcode [woocommerce_cart].
Make sure Default Template is chosen under Page Attributes > Template.
Check on Hide Page Header under Electro Page Options Meta box.
Click on Publish.
After hitting the Publish button, please navigate to WooCommerce > Settings > Checkout here set the cart page so that WooCommerce knows where to send users to checkout.
Assign the Cart page as Cart. Otherwise your customers cannot buy and pay.
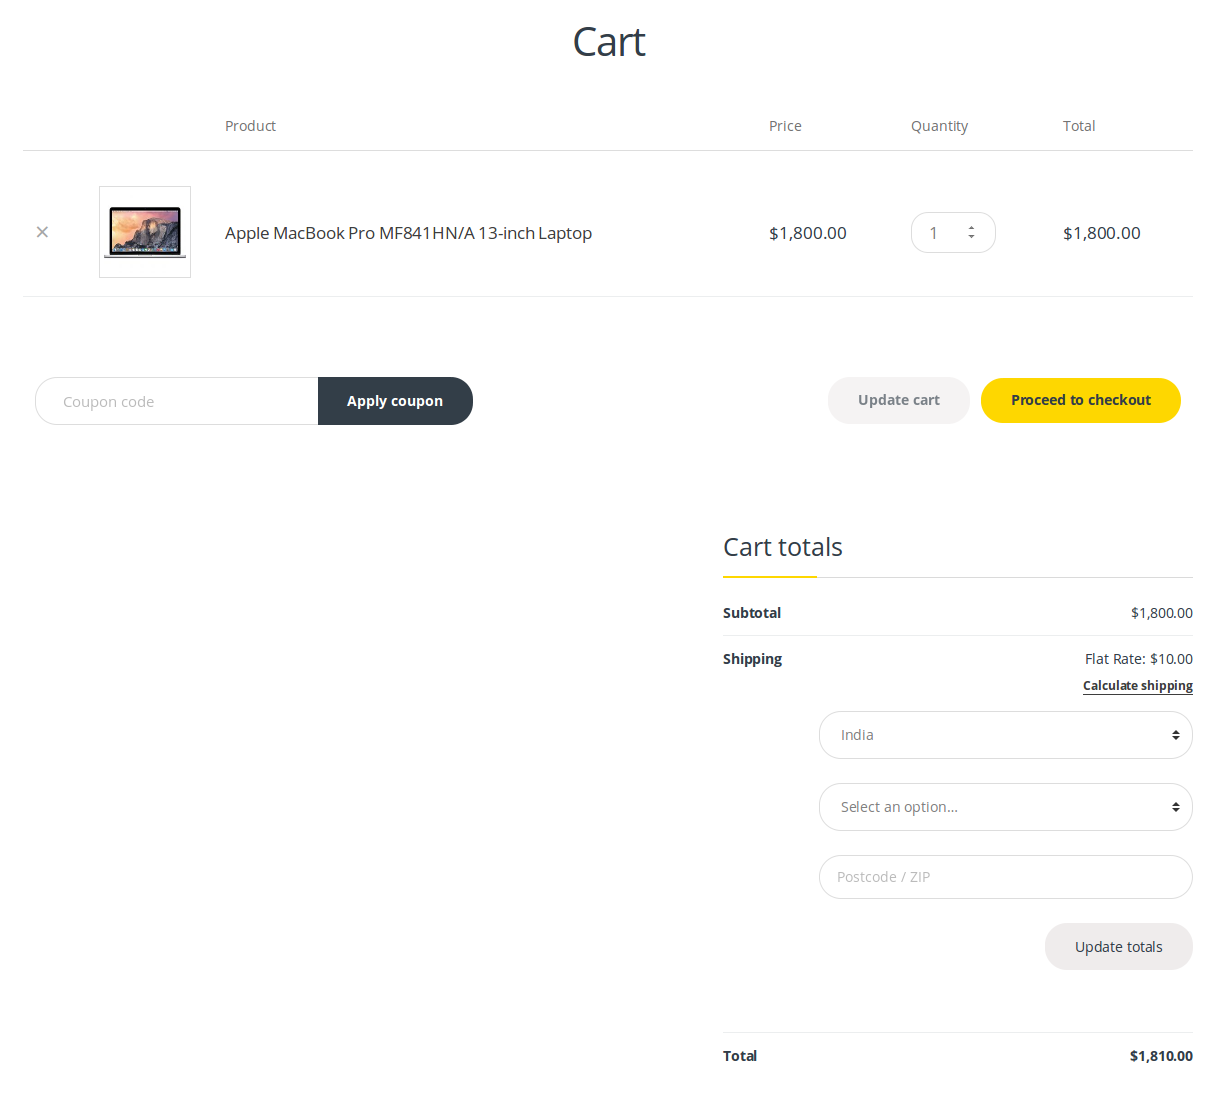
Cart Page View
My Account
My Account page is created automatically on activating the Woocommerce plugin. If the page is not created, then
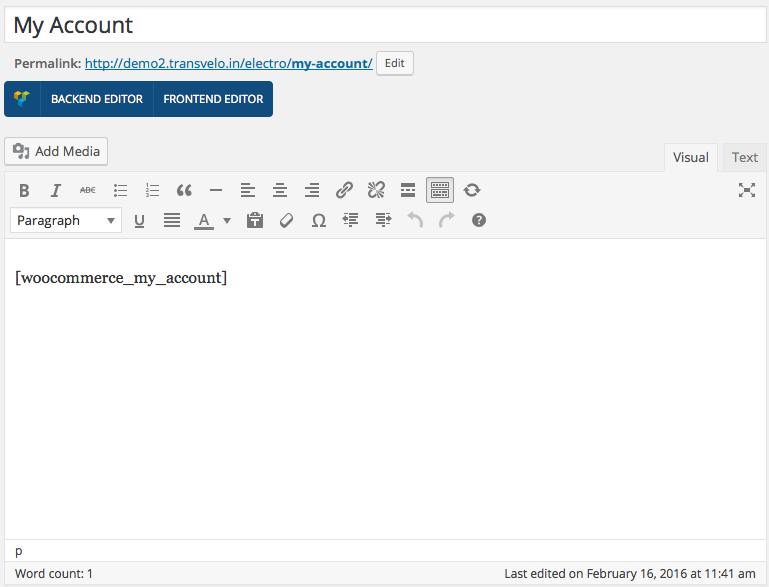
Navigate to Pages > Add New .
Give it a name, say My Account and enter the shortcode [woocommerce_my_account].
Make sure Default Template is chosen under Page Attributes > Template.
Check on Hide Page Header under Electro Page Options Meta box.
Click on Publish.
After hitting the Publish button, please navigate to WooCommerce > Settings > Accounts here set My account page as My Account so that WooCommerce knows where to send users to checkout.
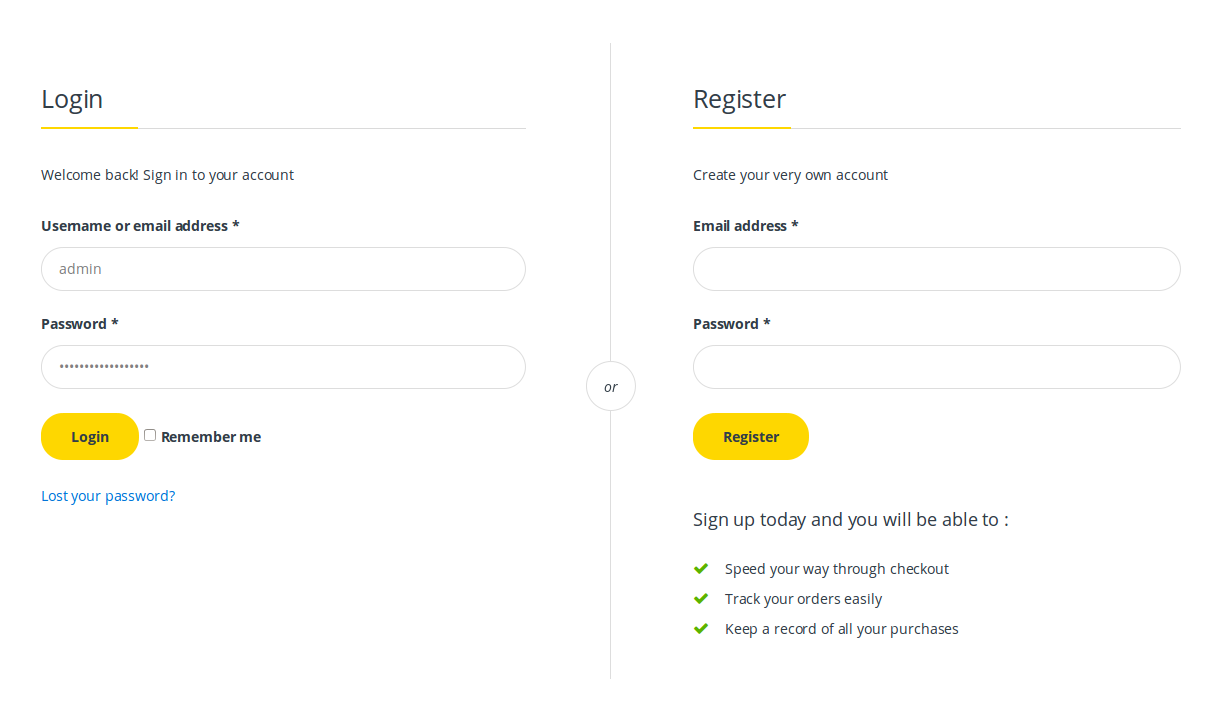
My Account Page View
Checkout
Checkout page is created automatically on activating the Woocommerce plugin. If the page is not created, then
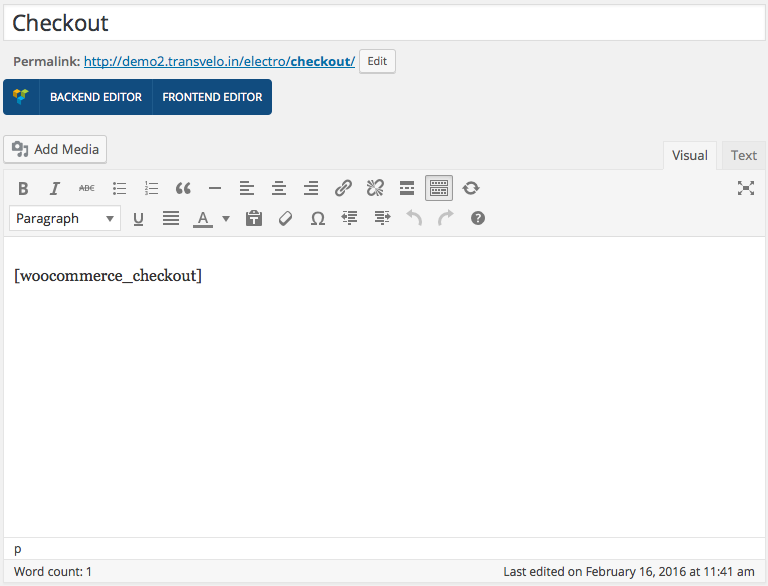
Navigate to Pages > Add New .
Give it a name, say Checkout and enter the shortcode [woocommerce_checkout].
Make sure Default Template is chosen under Page Attributes > Template.
Check on Hide Page Header under Electro Page Options Meta box.
Click on Publish.
After hitting the Publish button, please navigate to WooCommerce > Settings > Checkout here set the checkout page so that WooCommerce knows where to send users to checkout.
Assign the Checkout Page as Checkout and Terms and Conditions as Terms and conditions. Otherwise your customers cannot buy and pay.
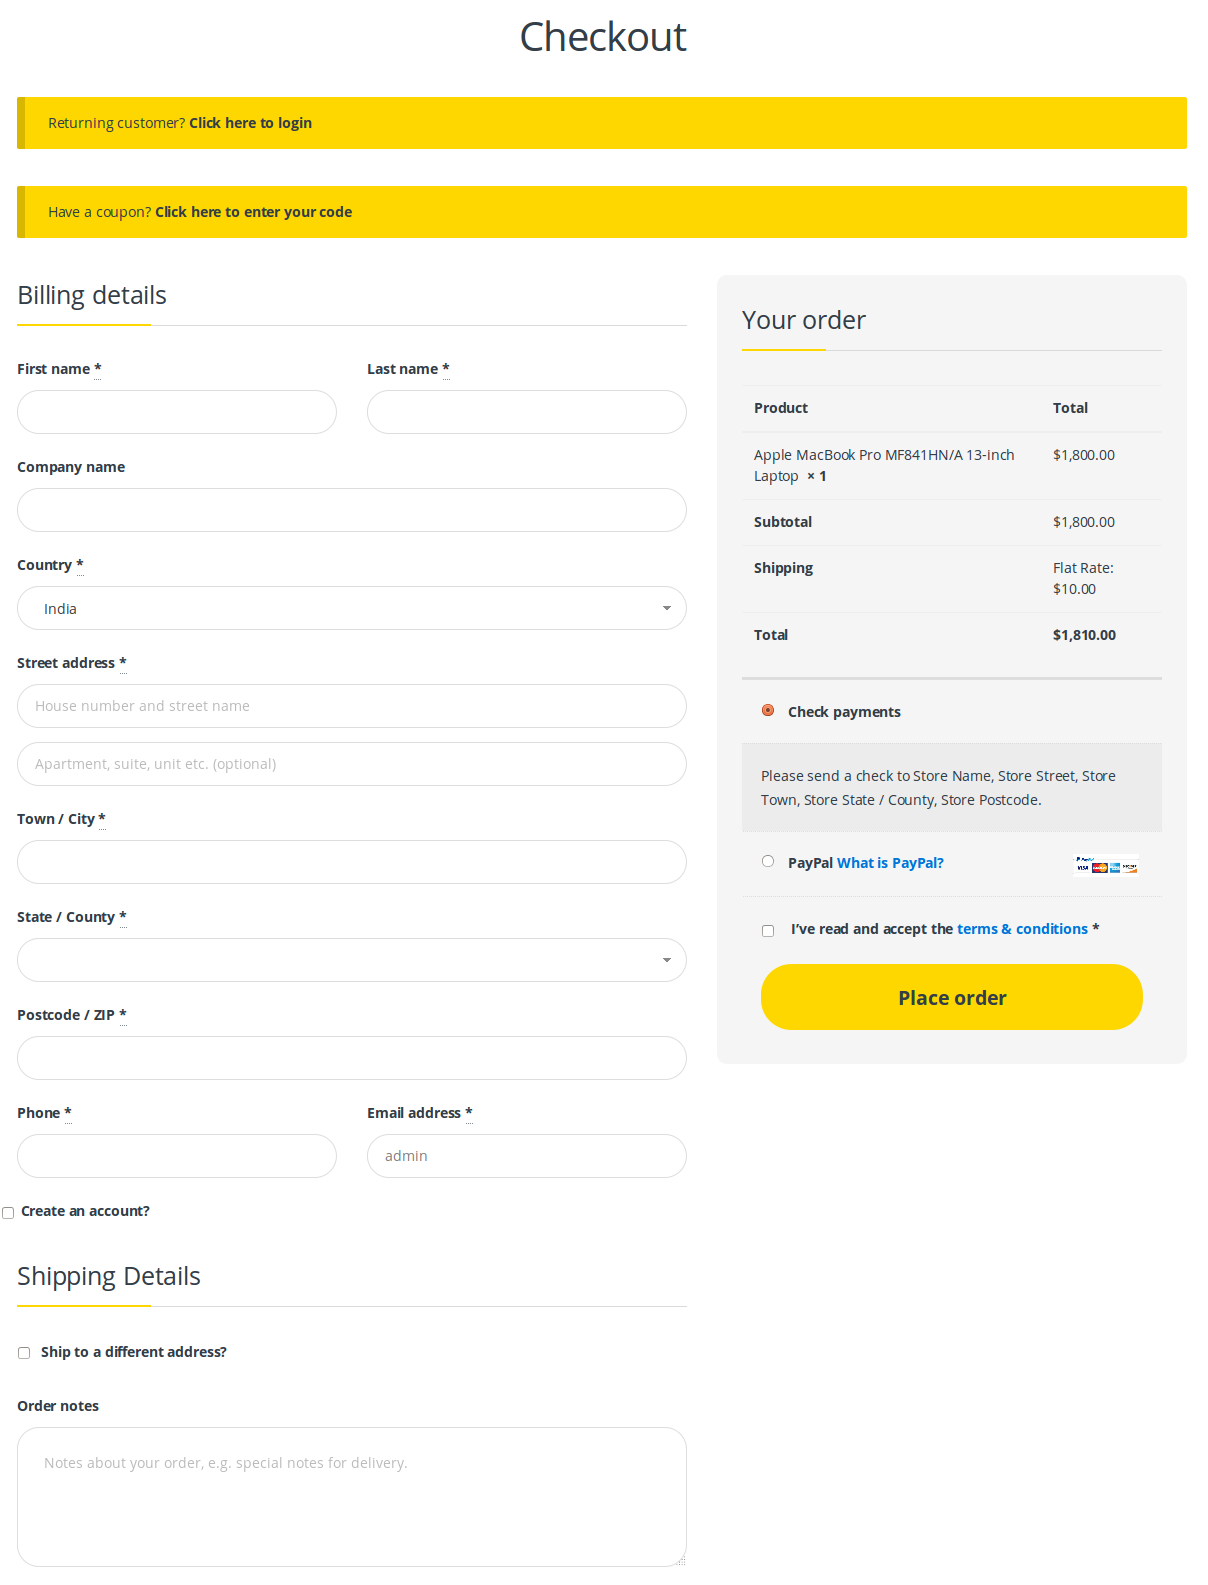
Checkout Page View
Last updated