The footer is an essential part for many sites worldwide, we have implemented some creative ways to show the footer in Kalium, always keeping the simplicity for the visitors eye but the multi-functionality for the web developer.
Enabling the Footer in Kalium can be done through these easy steps:
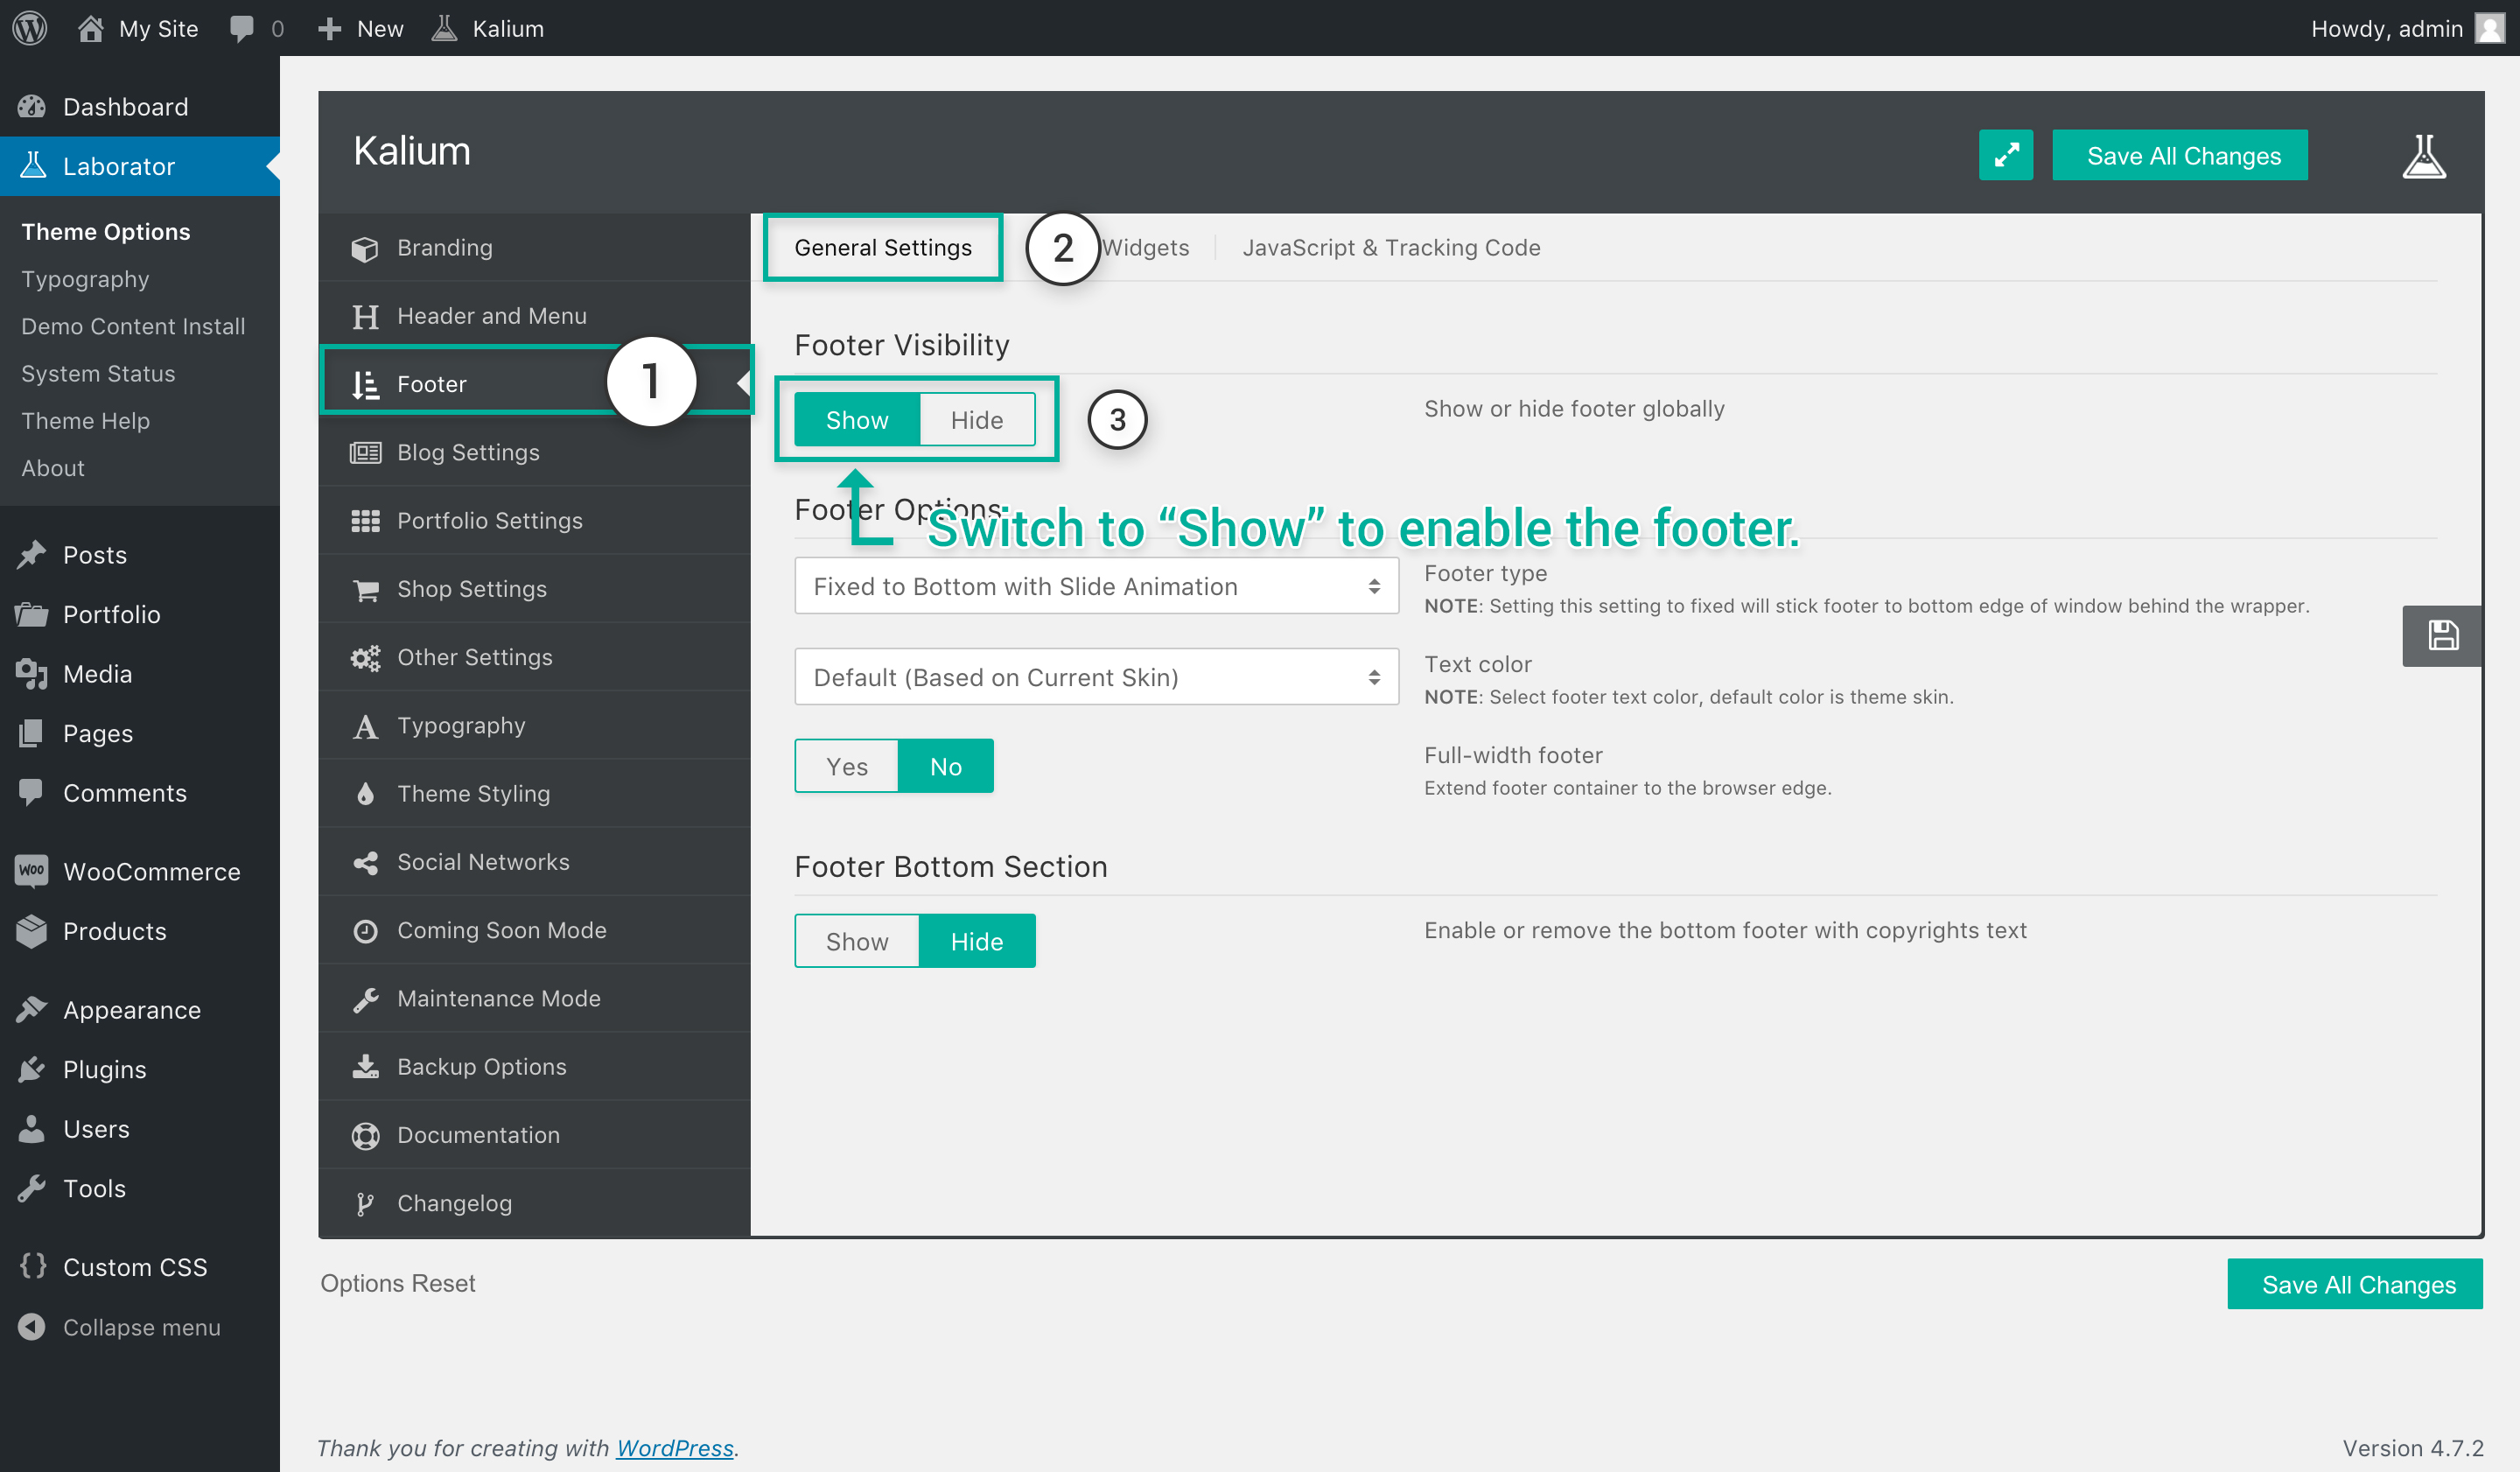
Go to Laborator > Theme Options
Select Footer from the option list.
Choose General Settings in the tabs above.
Switch the Footer Visibility to Show.
Footer Types — Choose the way you want to show the footer, animated or simple.
Text Color — If you have a dark website, you can invert the footer by setting the Text Color to White and the colors will be inverted and match your whole dark site.
Full-width Footer — Footer can also be full-width, from the left window edge to the right edge and not be limited only within the site container which is centered, enable this by switching to Yes.
Footer Types
There are plenty options for the footer to show when scrolling down to it, to choose them follow the steps where you enabled the footer and in the Footer type you can choose between four types:
Default
Fixed to Bottom
Fixed to Bottom (Fade) — Elements animated with fade.
Fixed to Bottom (Slide) — Elements animated with slide.
To set any of these footer types, follow the instructions below:
Go to Laborator > Theme Options
Select Footer from the option list.
Choose General Settings in the tabs above.
Select between the preferred Footer type in the dropdown.
Footer Widgets
The footer in Kalium allows you to add from 1 to 6 widgets per row, and enabling them is really easy:
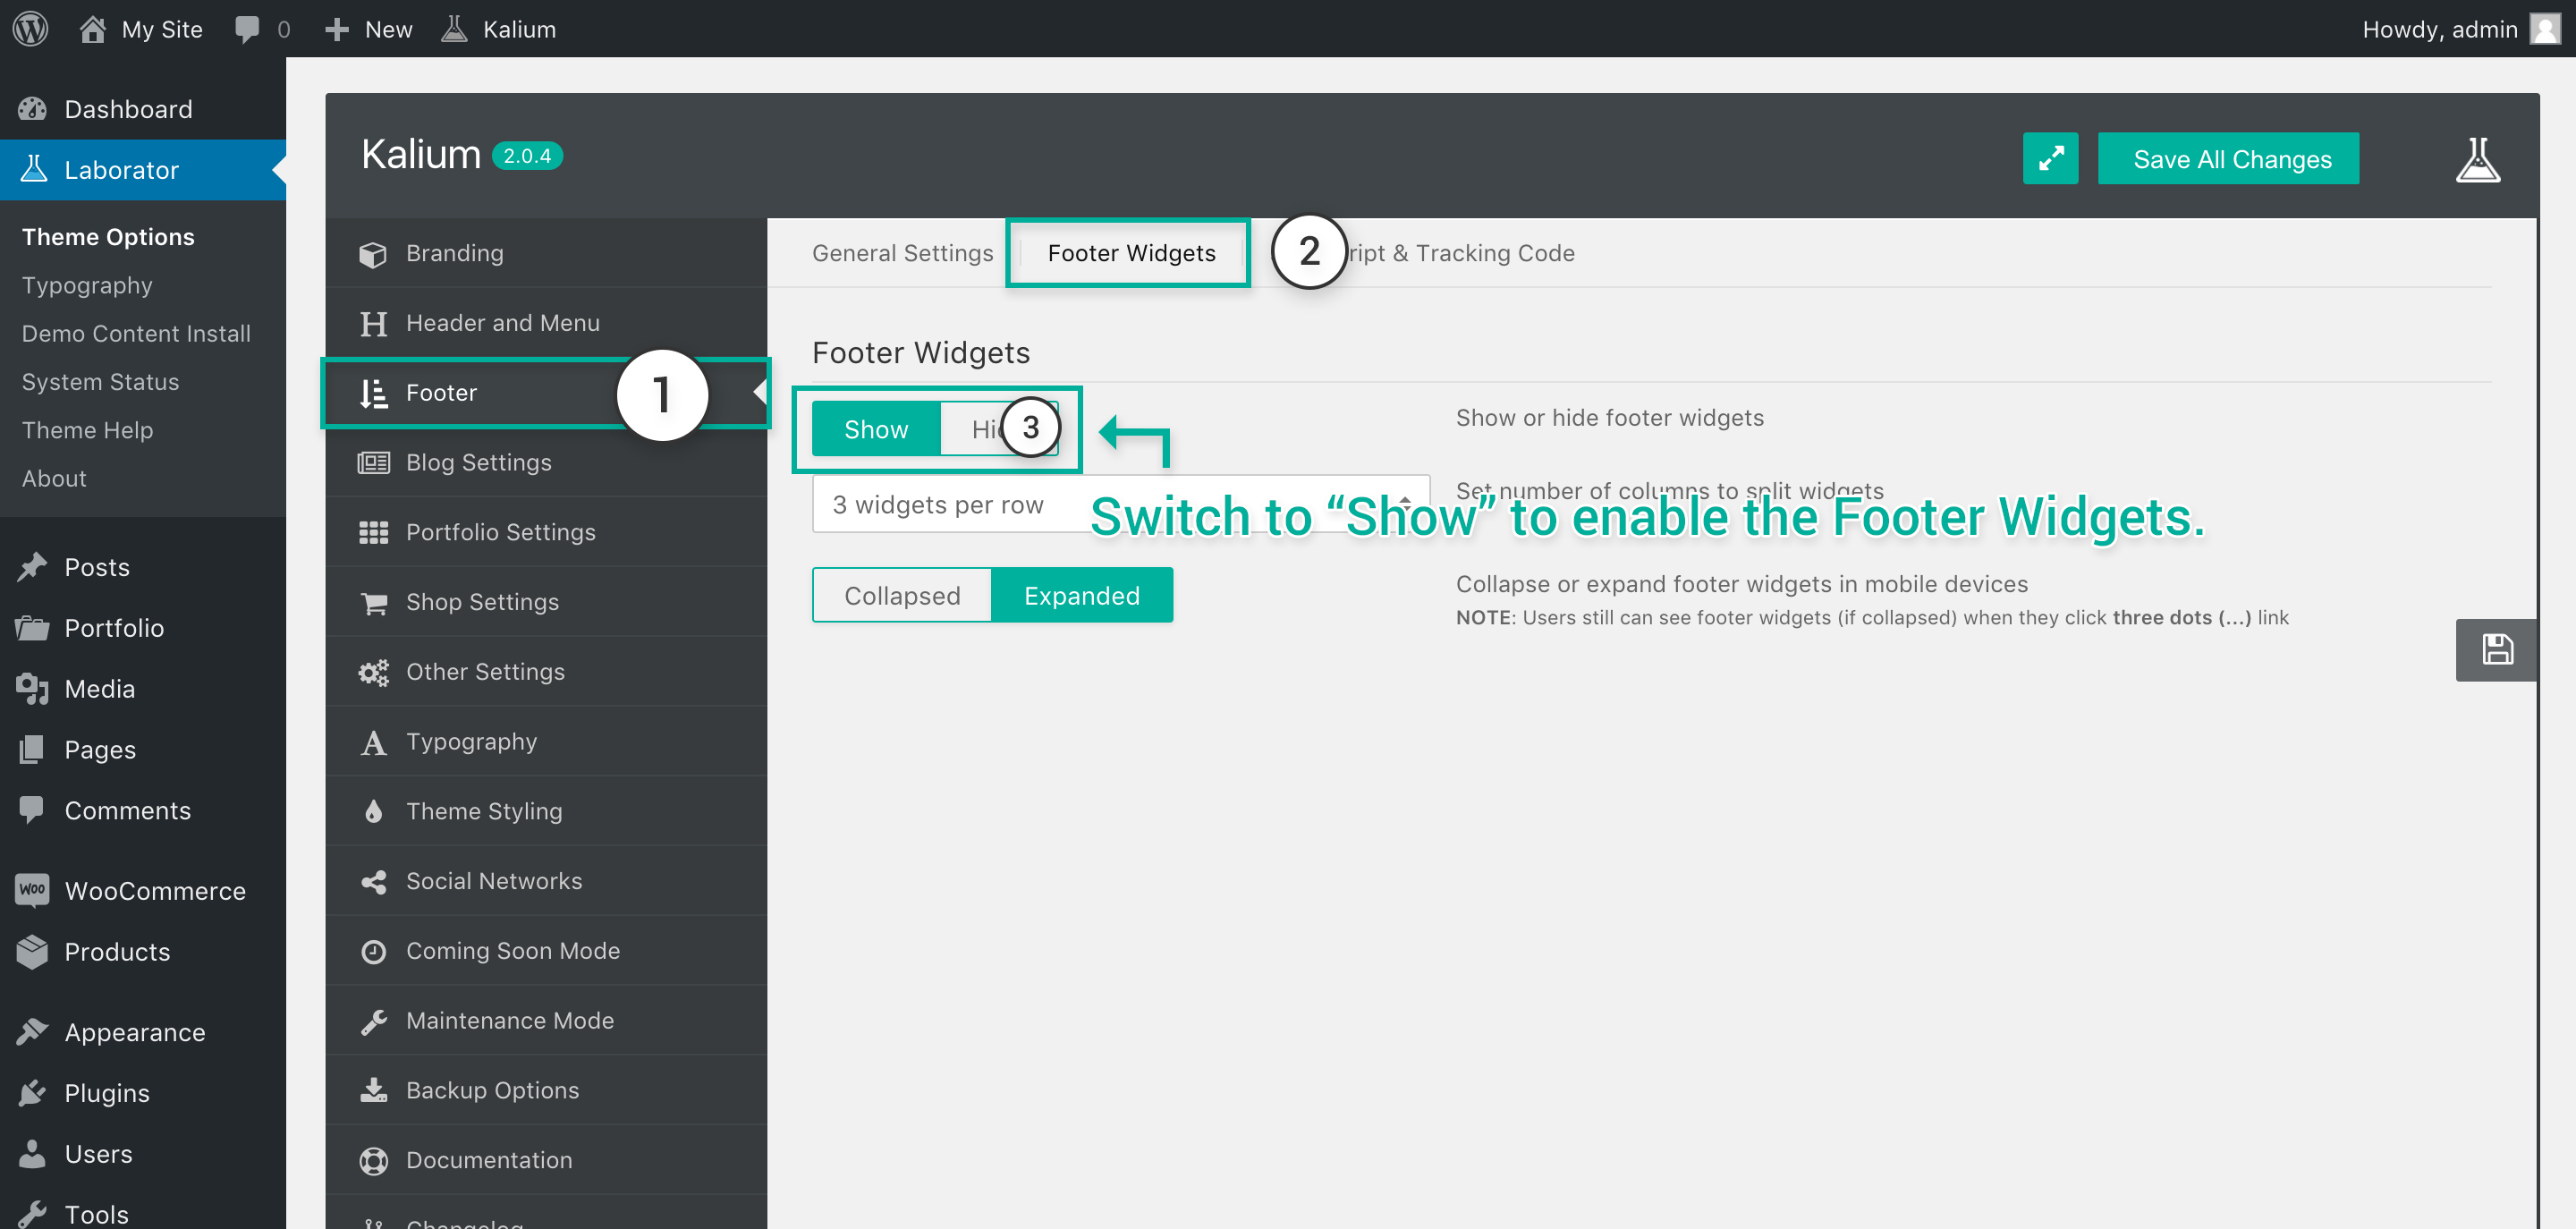
Navigate through Laborator > Theme Options
Select Footer from the option list.
Choose Footer Widgets in the tabs above.
Switch the Footer Widgets to Show.
Select the number of widgets to show per row (1, 2, 3, 4, 5, 6).
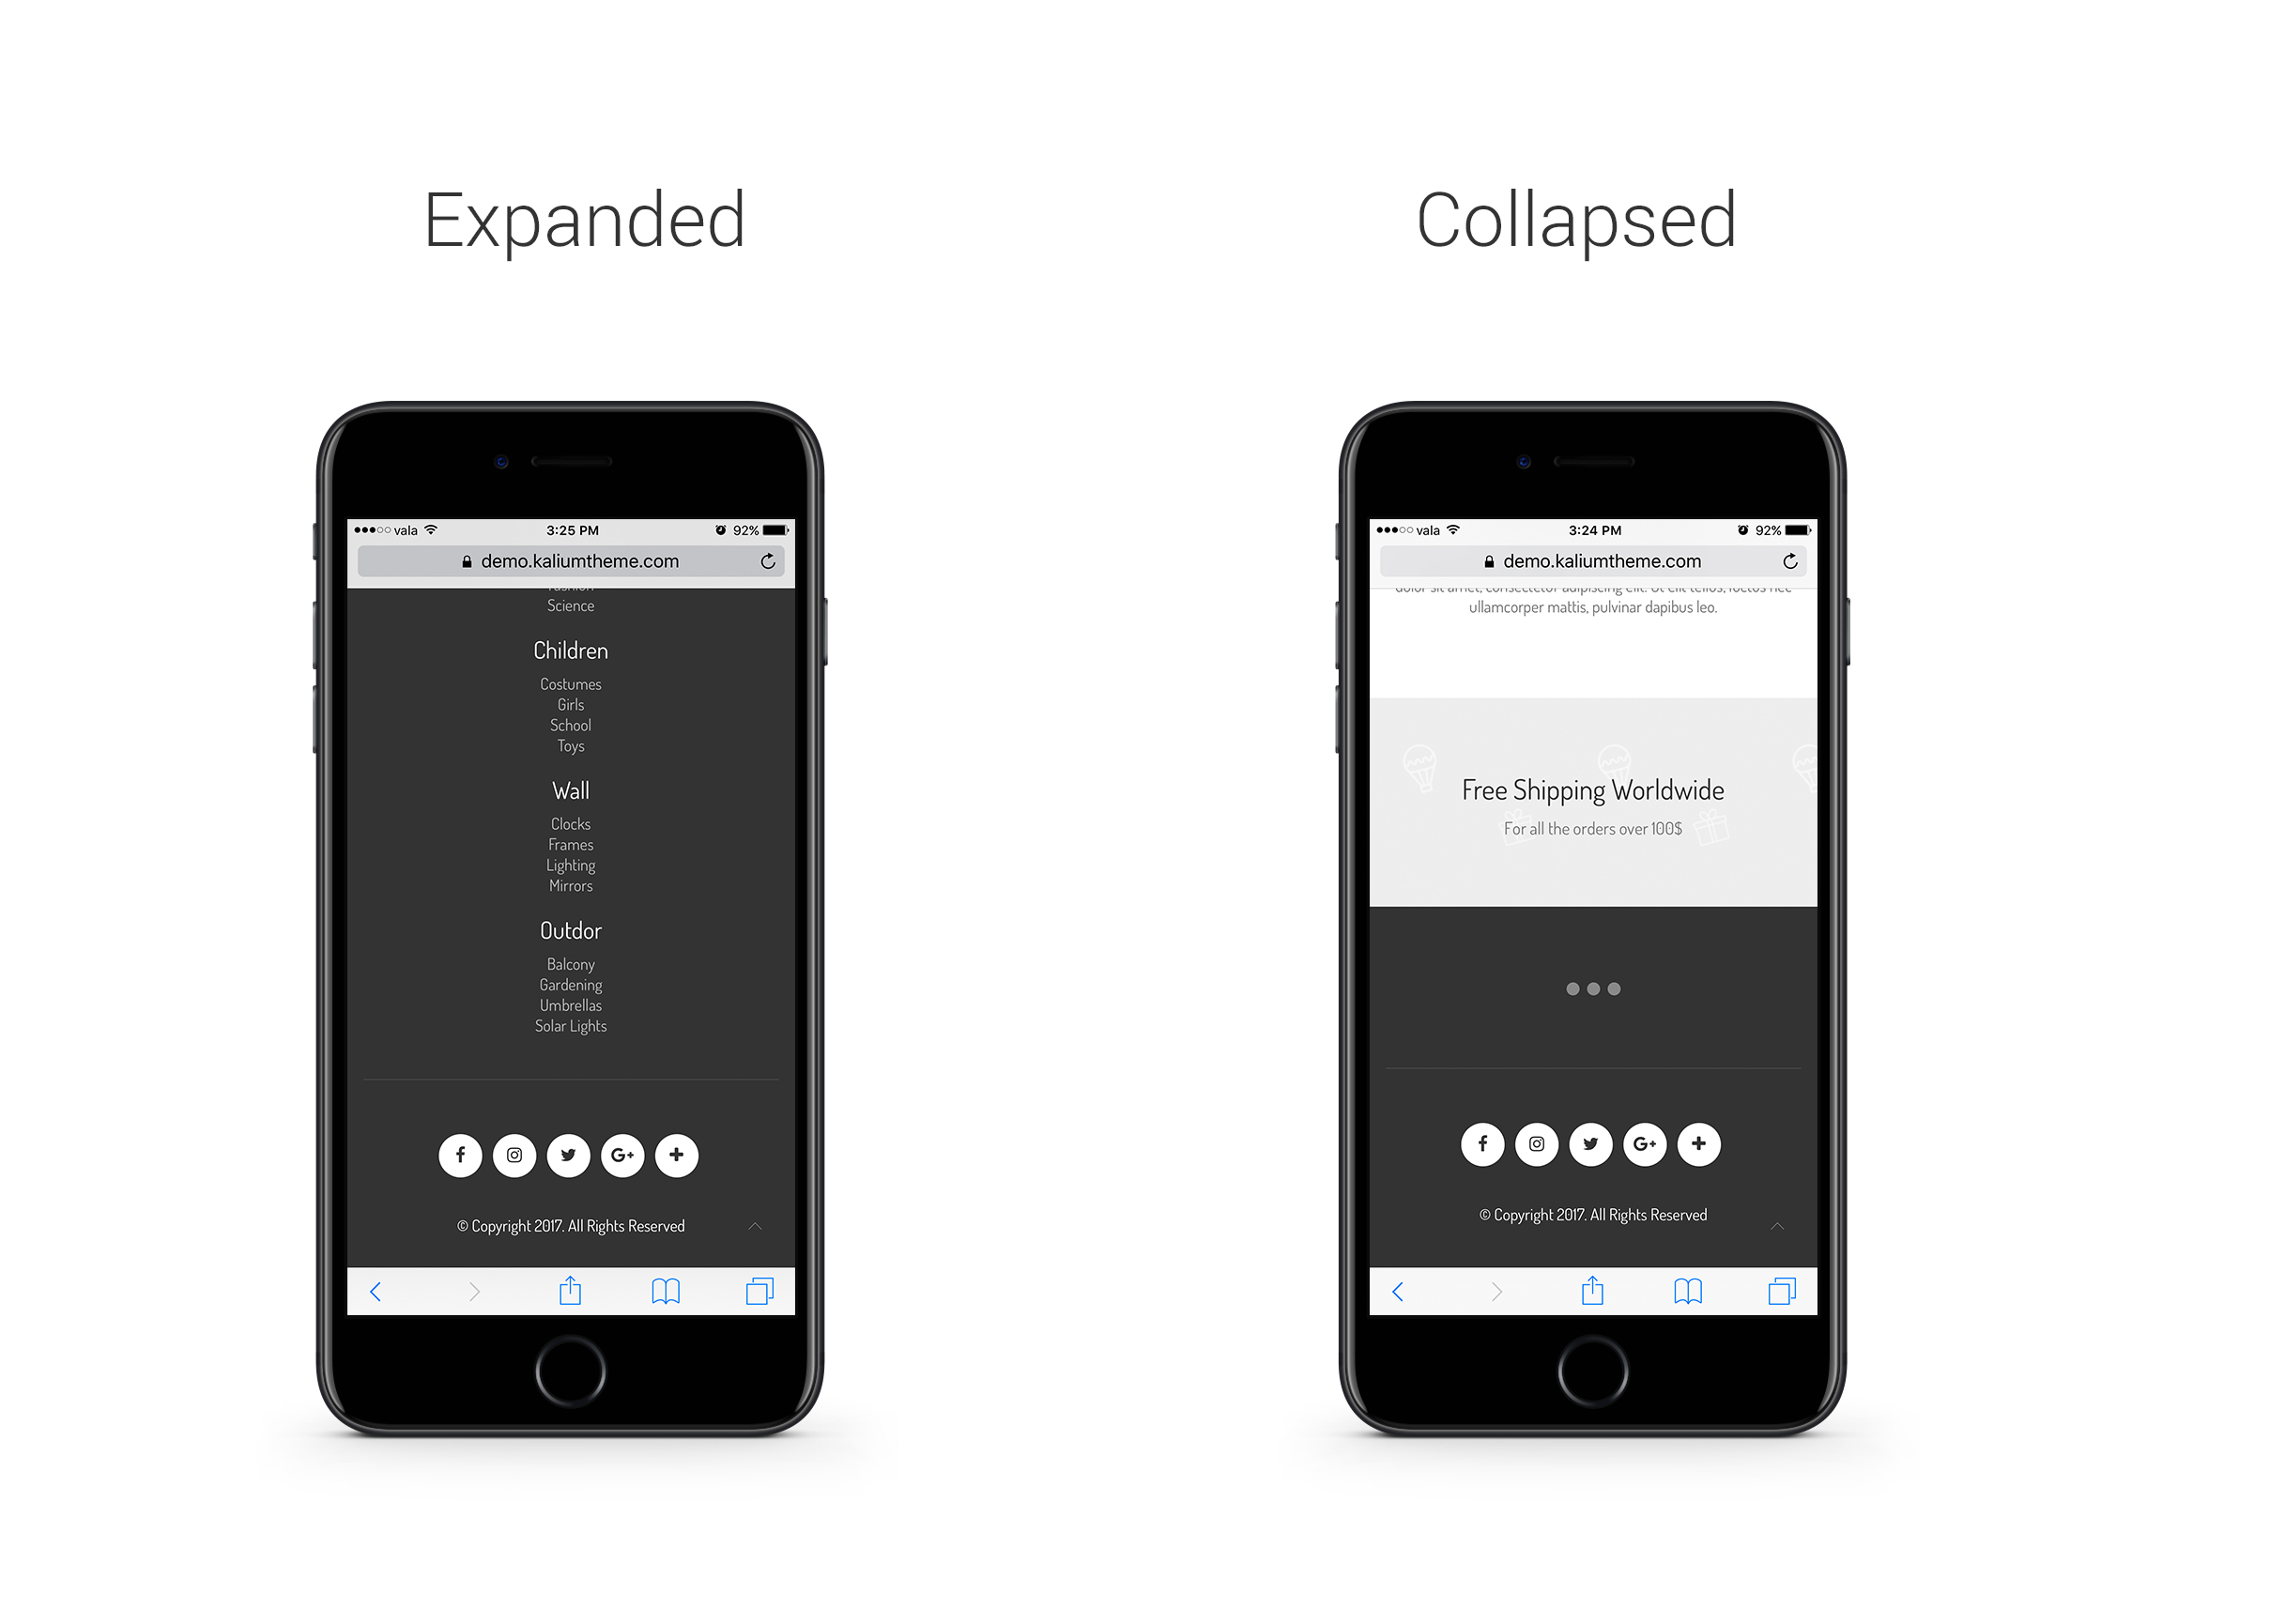
Select whether you want to set the widgets to be expanded or collapsed in your mobile, if they are collapsed they will show after clicking the three dots, while the expanded show immediately:
Now you’re ready to go, just before checking your site live make sure you have added widgets already so it won’t be empty. Add widgets through Appearance > Widgets drag and drop them to the Footer Widgets area, see the image below.
Managing the Social Networks
Last modified January 24, 2020
Including social networks on your site is a nice thing because your viewers can click on them and follow you or your business through your selected social networks.
To add the social networks one by one please follow the instructions below.
On the admin sidebar navigate through Laborator > Theme Options
Click on Social Networks
Here is the explanation for each option on that area.
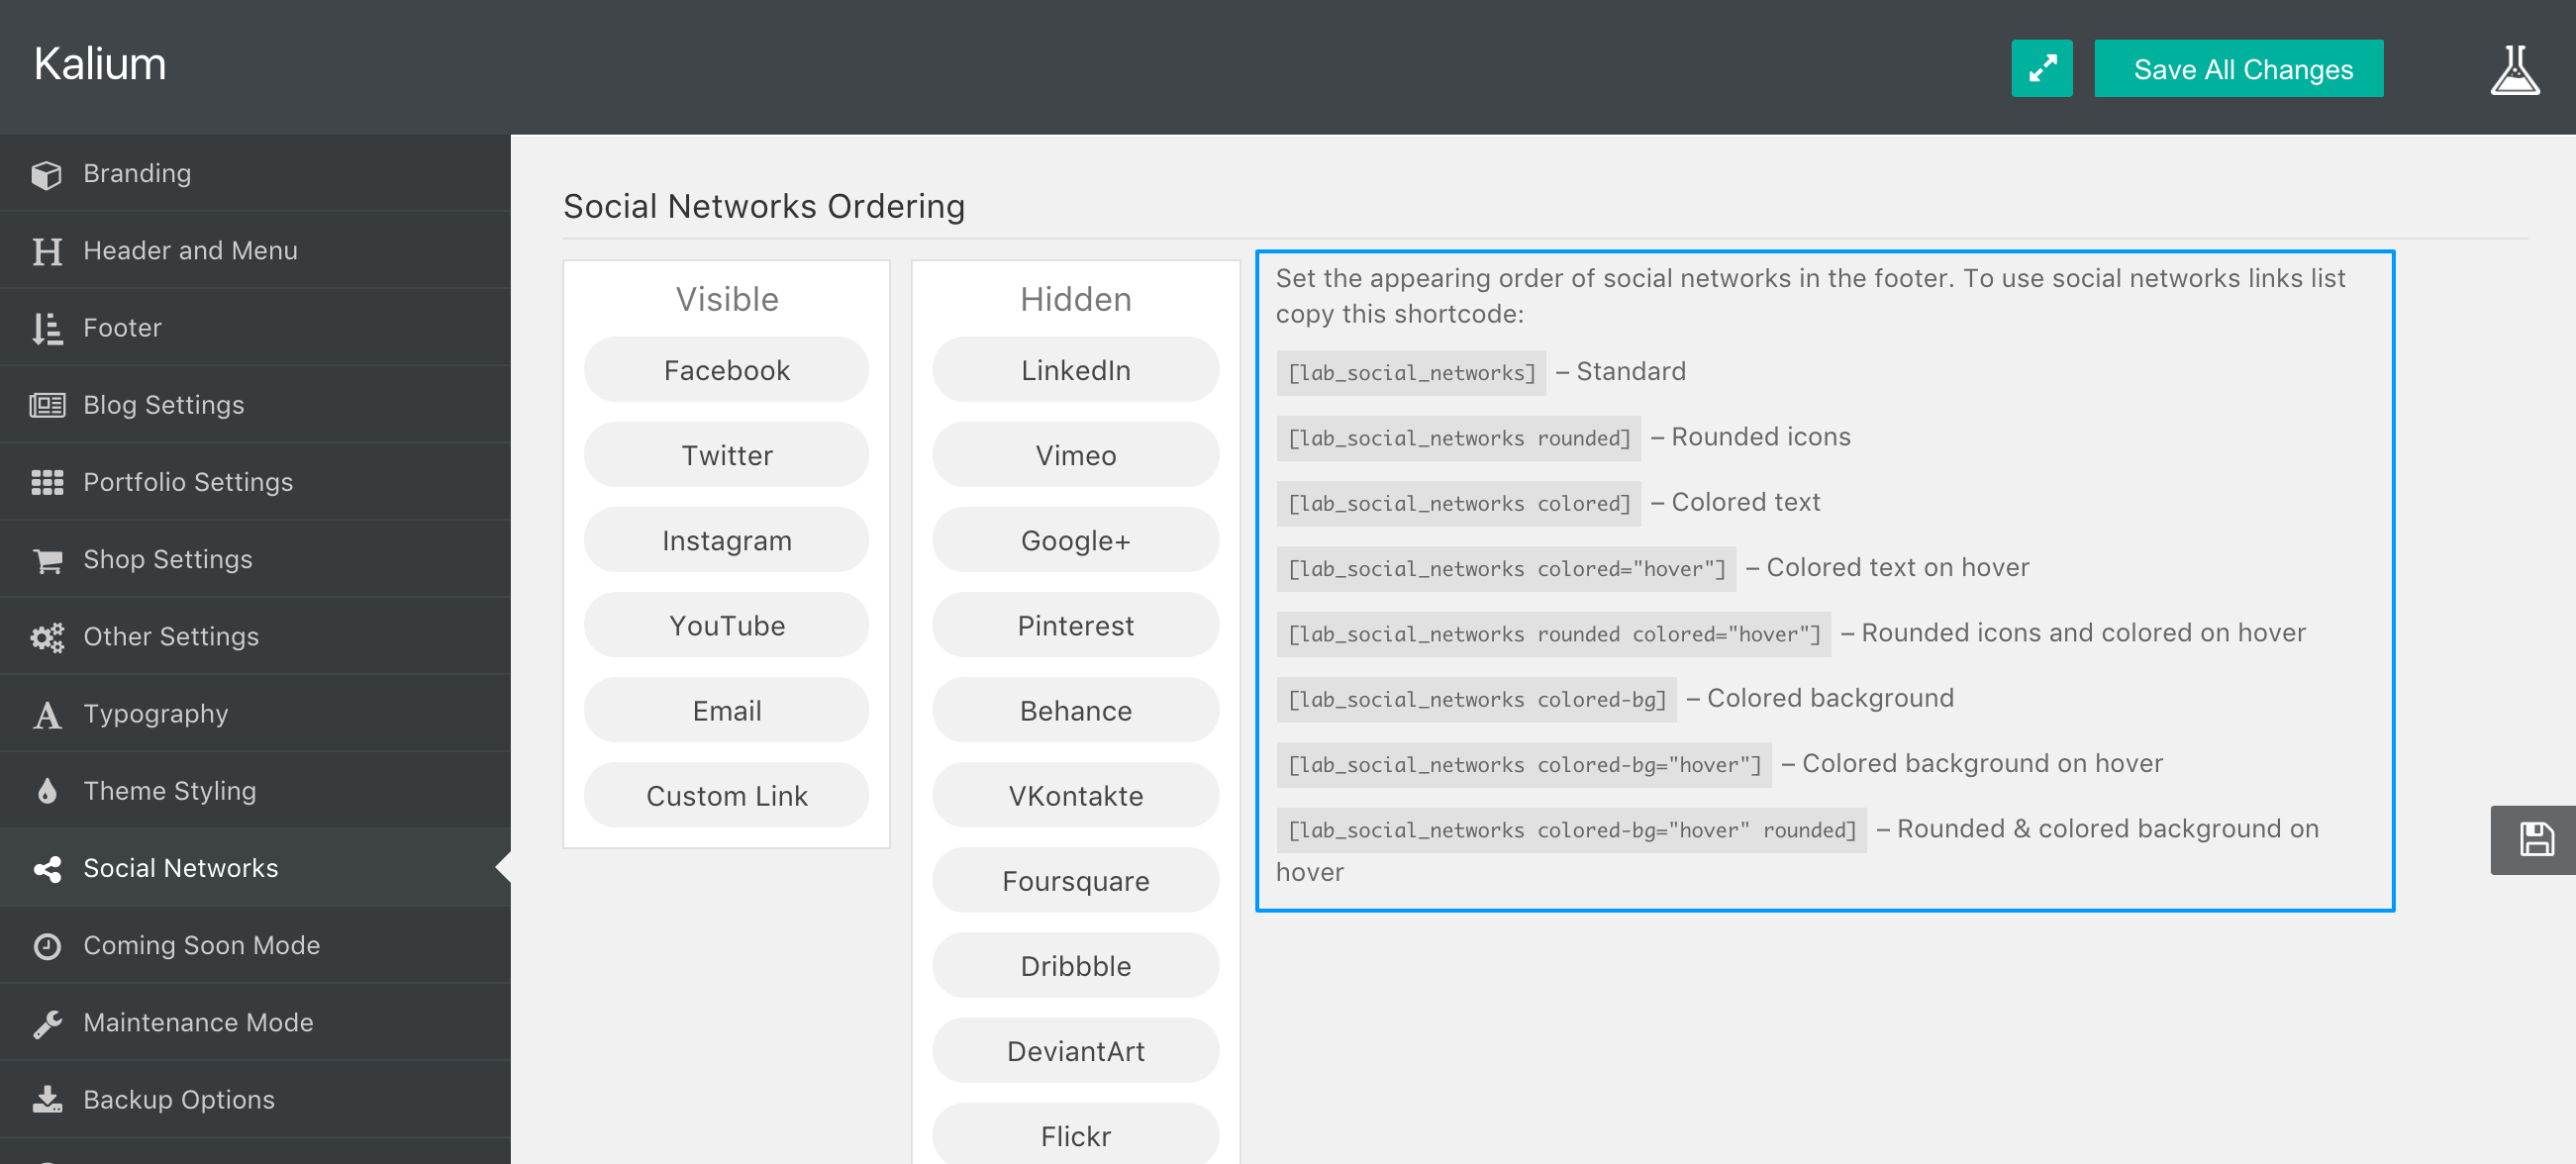
Social Networks Ordering
First you need to move (drag and drop) from Hidden to Visible your prefered social networks that you want to add on your site.
Link Target
When user clicks on any of your social networks buttons choose if you want to open that site on the actual tab or open another tab on the browser.
So options that you can choose are Same Window or New Window.
Social Networks Links
Add the links of your social networks there:
For example some of the areas that we filled for this tutorial are:
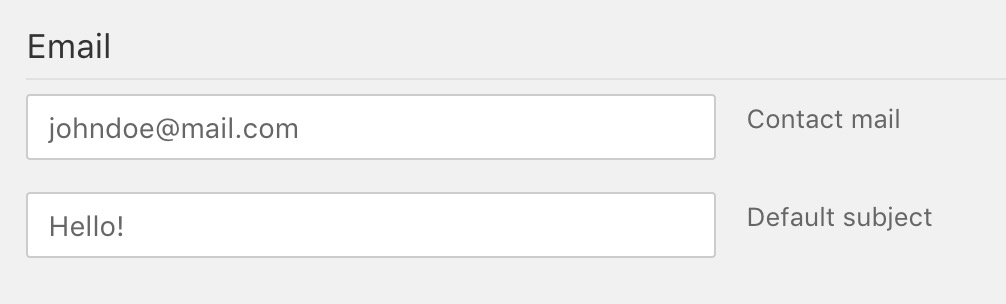
If you want, you can add the icon of your email address on that social networks area too.Contact mail — Put your email address there (E.g. [email protected])Default subject — This will be the default subject when someone emails you by clicking on that button. User can change the subject when writing the email.
Custom Link
If you want to add another link that you can’t find on the social networks area, you can do it too.
Just make sure that you fill those options:
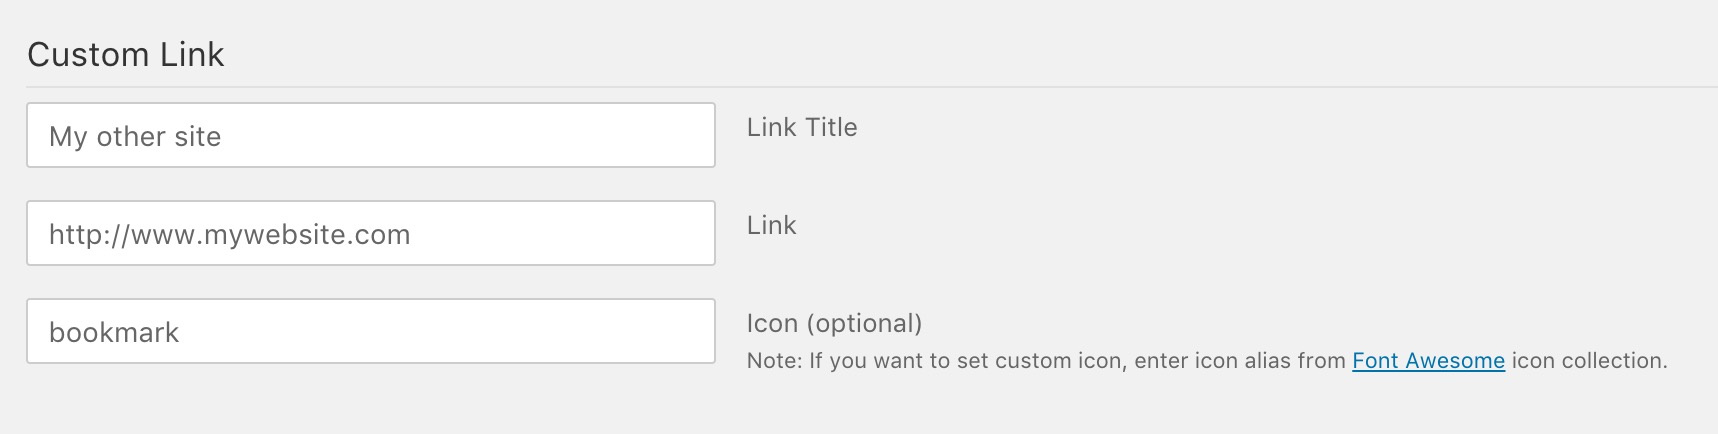
Link Title — Add the title of the site that you want to add (E.g. My other site)
Link URL — Add the URL of the site (E.g. http://www.mywebsite.com)
Icon (Optional) —If you want to set custom icon, enter icon alias from Font Awesome icon collection. (E.g. bookmark)
To see the changes on your site please don’t forget to add Custom Link from Hidden to Visible area.
Social Icons Shortcodes
Finally, to show your social networks anywhere on your site (mainly footer) you can add this simple shortcode [lab_social_networks] or choose one of the followings.


 First you need to move (drag and drop) from Hidden to Visible your prefered social networks that you want to add on your site.

 — [lab_social_networks]
 — [lab_social_networks colored=”hover”]
 — [lab_social_networks colored]
 — [lab_social_networks colored-bg]
  — [lab_social_networks colored-bg=”hover”]
 — [lab_social_networks rounded]
 — [lab_social_networks rounded colored=”hover”]
 — [lab_social_networks colored-bg=”hover” rounded]